5. Cloud-based Database Setup (PostgreSQL)
Background:
In our previous walkthroughs, we discussed the methods used to transfer data. This discussion leads us to the consideration of how data is stored. Relying exclusively on spreadsheets for data management is not optimal for several reasons:
Spreadsheets can become unwieldy and slow as they grow in size. Handling large datasets, or scaling up the data management process for a growing business, can be problematic. Performance issues become evident as the file size increases, which can lead to crashes and data loss.
Spreadsheets offer limited security features. They can be easily copied, altered, or shared, often without comprehensive audit trails. This makes them a poor choice for managing sensitive or confidential data.
Managing versions and changes in spreadsheets can be challenging, especially when multiple users are involved. It’s easy to lose track of the most current version, and merging changes from different versions can be difficult and time-consuming.
While spreadsheets can be integrated with other systems, they often require manual intervention to import or export data, which can be both time-consuming and prone to errors. They typically do not support real-time data feeds or updates.
Therefore, the optimal approach would involve establishing a centralized database that facilitates both the storage and distribution of data, while also ensuring scalability and control. Such databases will provide us with the foundation required for future reporting and analytical solutions.
Goal
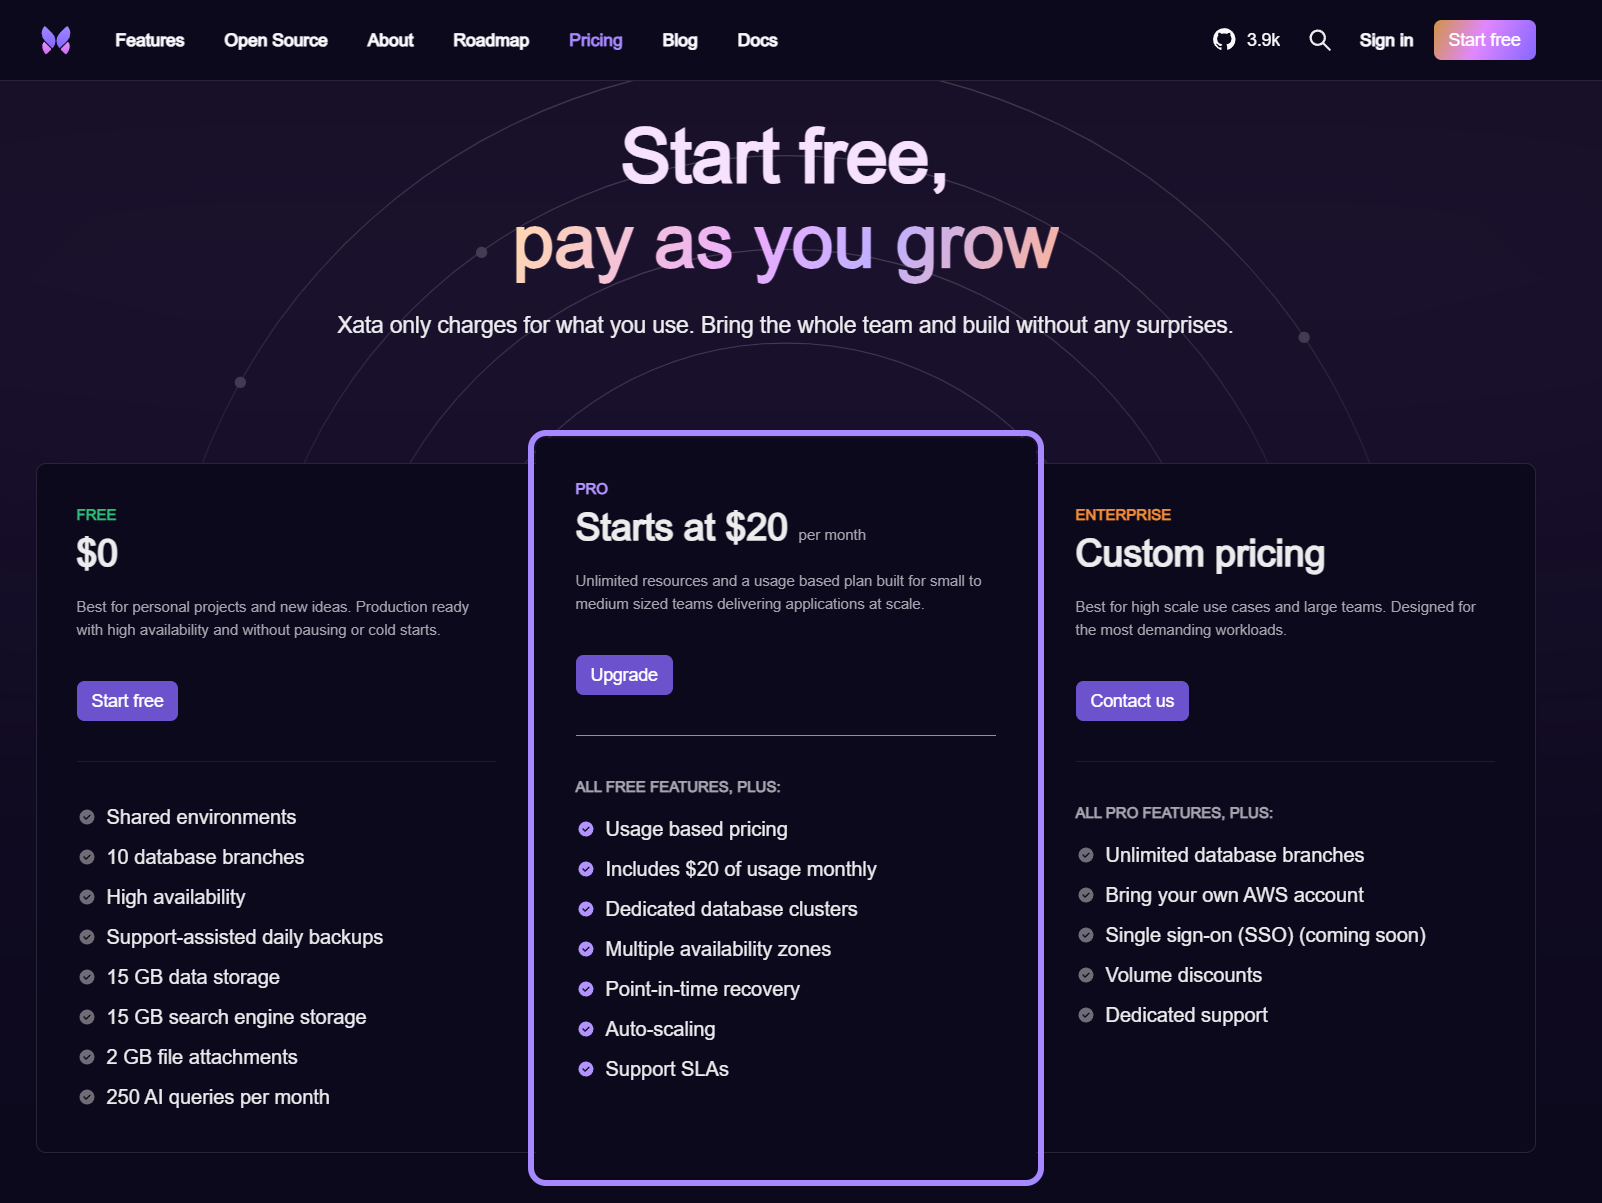
When considering databases, various options are at our disposal. For the purposes of this demonstration, we will utilize managed PostgreSQL database solutions offered by providers such as Xata.io. Xata.io provides a generous free tier tailored for hobbyists, which aligns well with our current needs. However, it’s essential to acknowledge that in a commercial setting, the chosen solution would undoubtedly be more robust and standardized, likely with the support of dedicated IT personnel.
We will (a) setup the connection in our Python scripts and (b) setup the connection within a database administration tool such as DBeaver for easy database management.
Steps
Requirements: Python, SQL, DBeaver installation.
To start off, register a new account on Xata.io via “Start free” at the top-right corner.
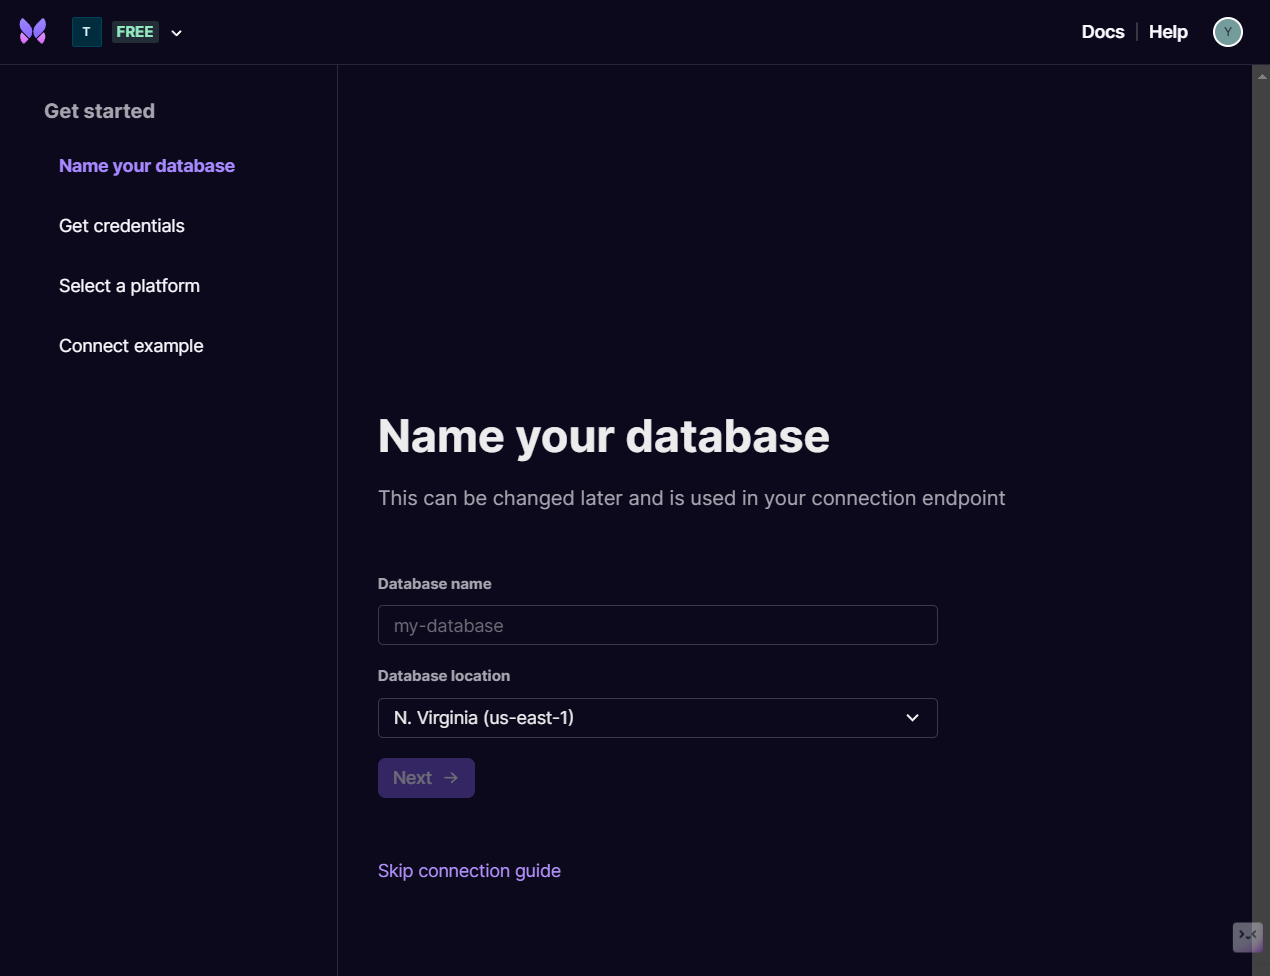
Once your account has been created, proceed through the process of creating a workspace and database. In order to connect directly to our database on Xata using PostgreSQL, you will need need to set the database location to “N. Virginia (us-east-1)” - note that the Sydney location available in the dropdown menu does not support direct connections via PostgreSQL.
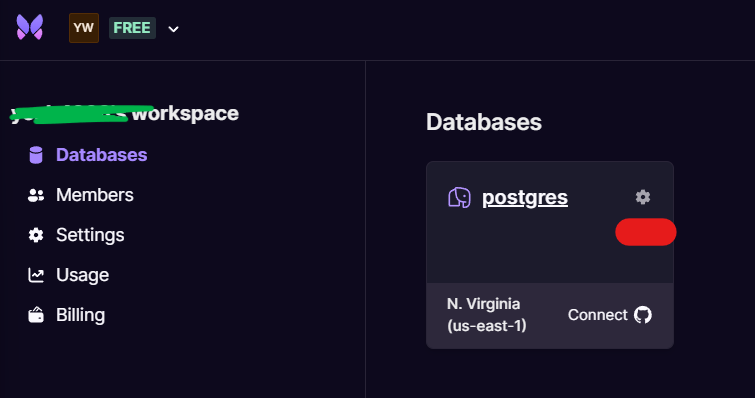
Once you have a database setup, the workspace dashboard should resemble the following:

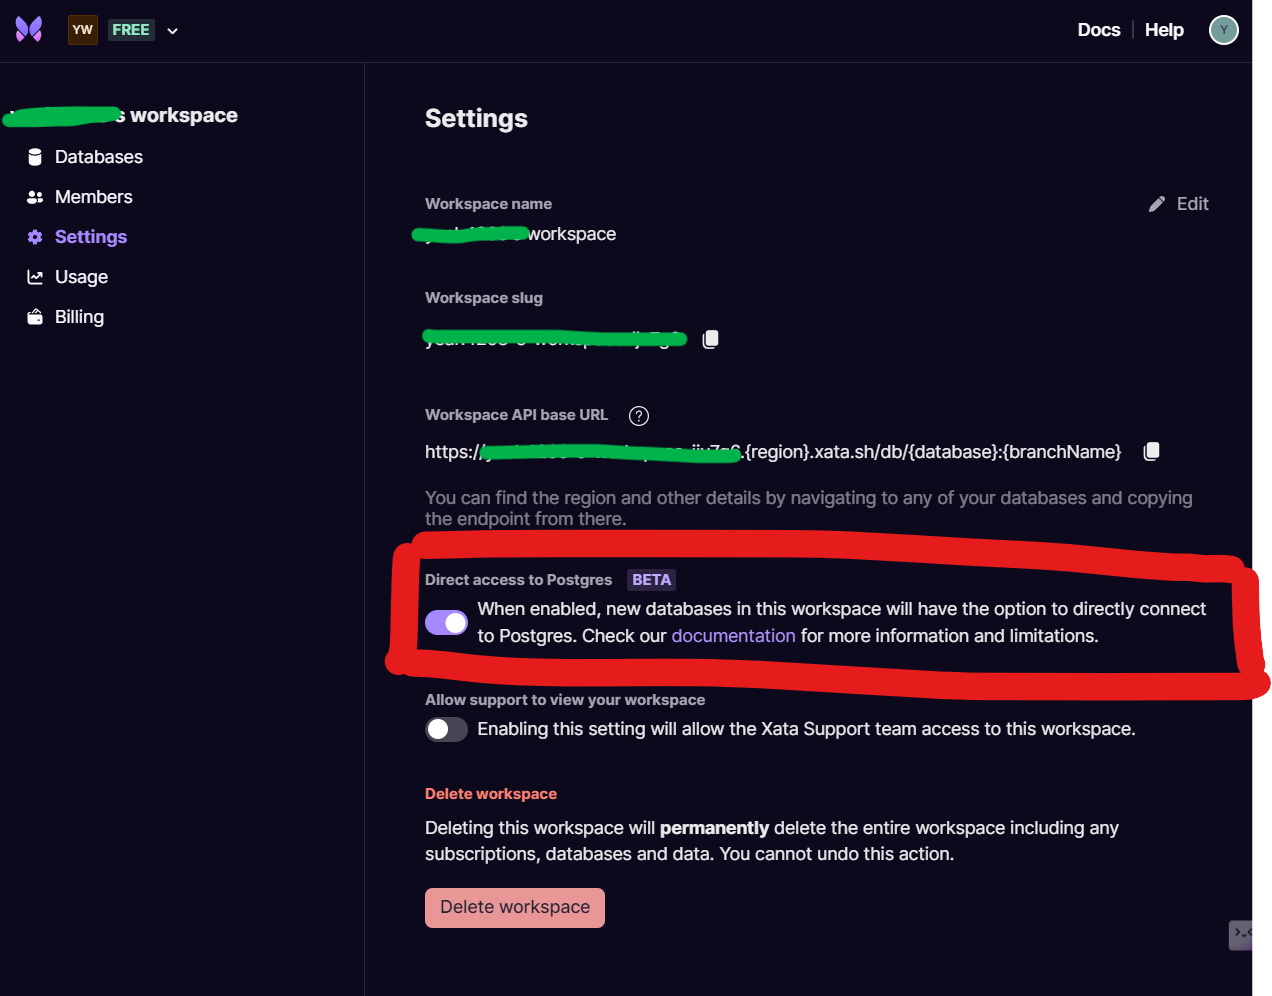
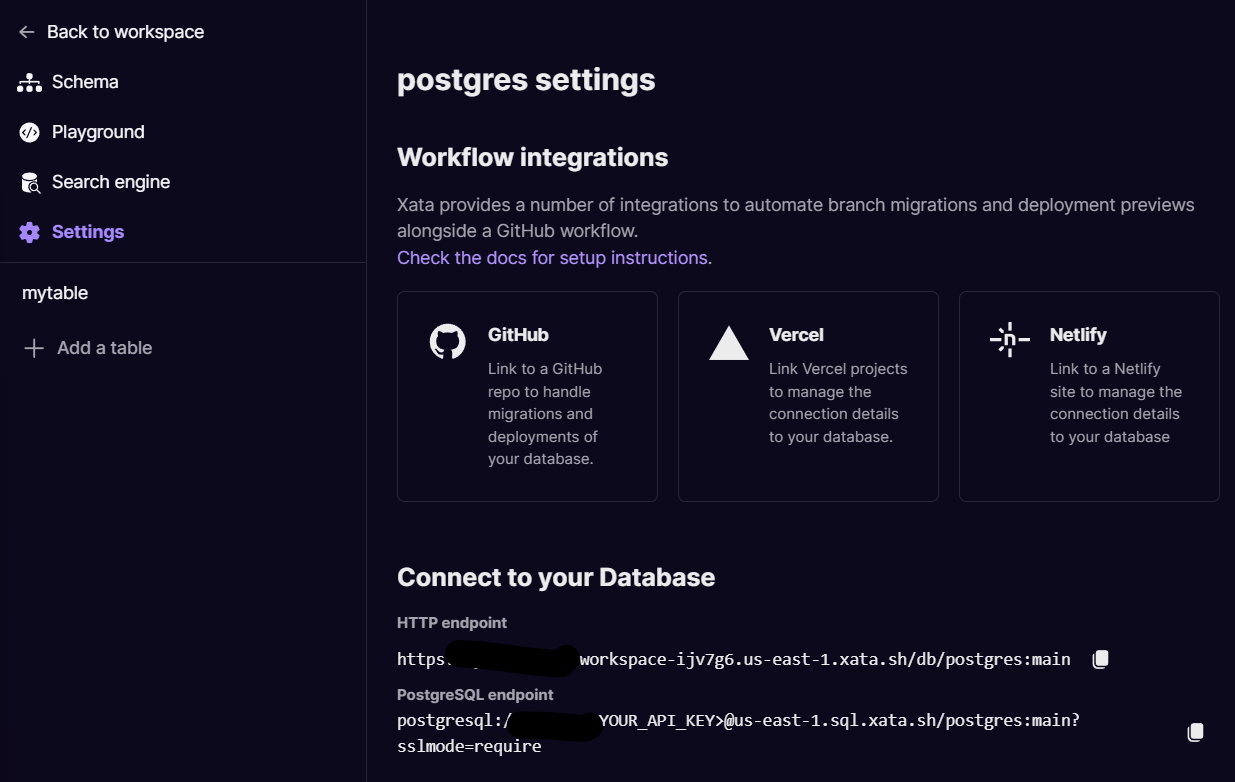
Go to Settings in the left toolbar, and ensure that Direct access to Postgres is toggled on. Note that this is only available for Ireland and N. Virginia locations, hence the setup above.
We now need two pieces of information to setup connections to our database.
First, we need the database connection string. Click on the database settings icon on the top-right corner of the tile and then go to Settings in the left toolbar and copy the PostgreSQL endpoint to a .txt file.
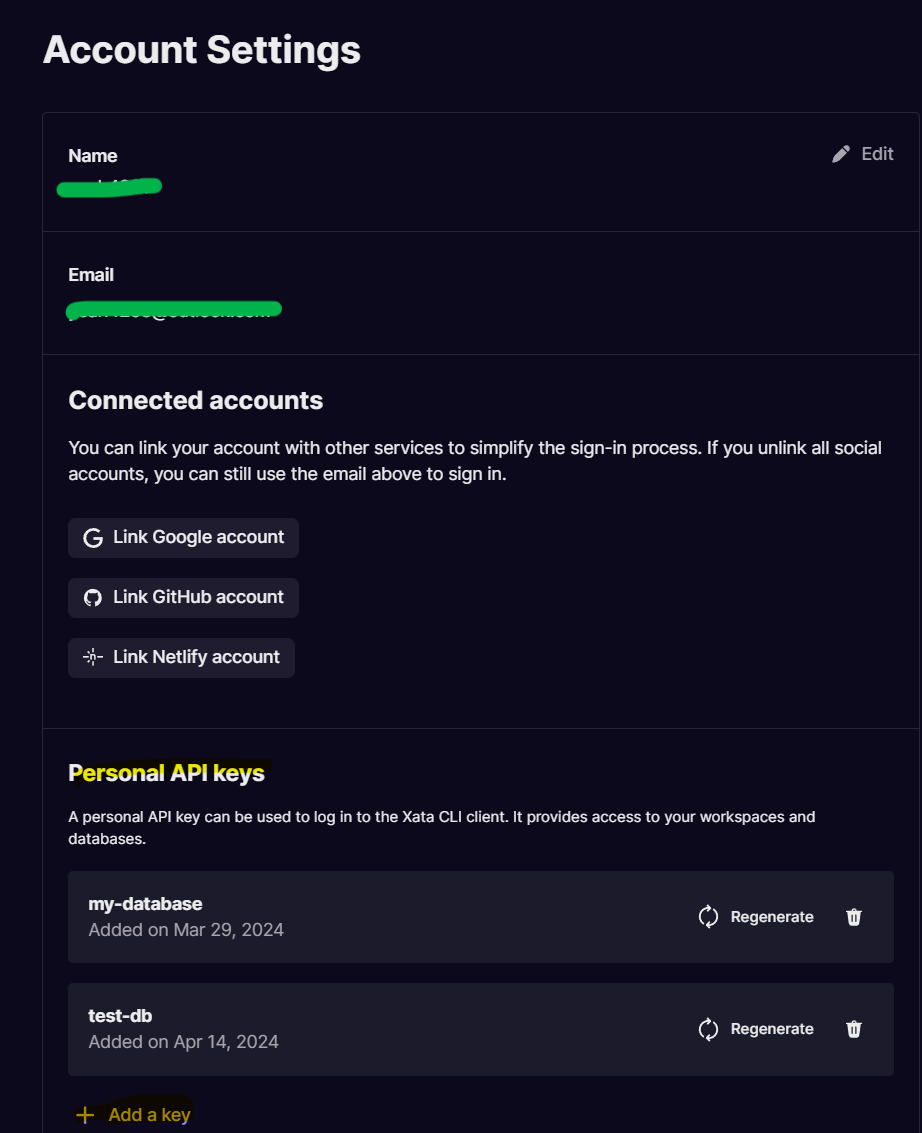
Next, click on your user profile on the top-right corner and select Account settings. Click on Add a key under the Personal API keys section to generate an API key. Copy the key to a .txt file for storage as it will be required later.
Go back to the main dashboard and click on your database. Once in, create 2 new tables via the Add a table on the sidebar. You can name these 2 new tables mytable and test to match those used in the script below.
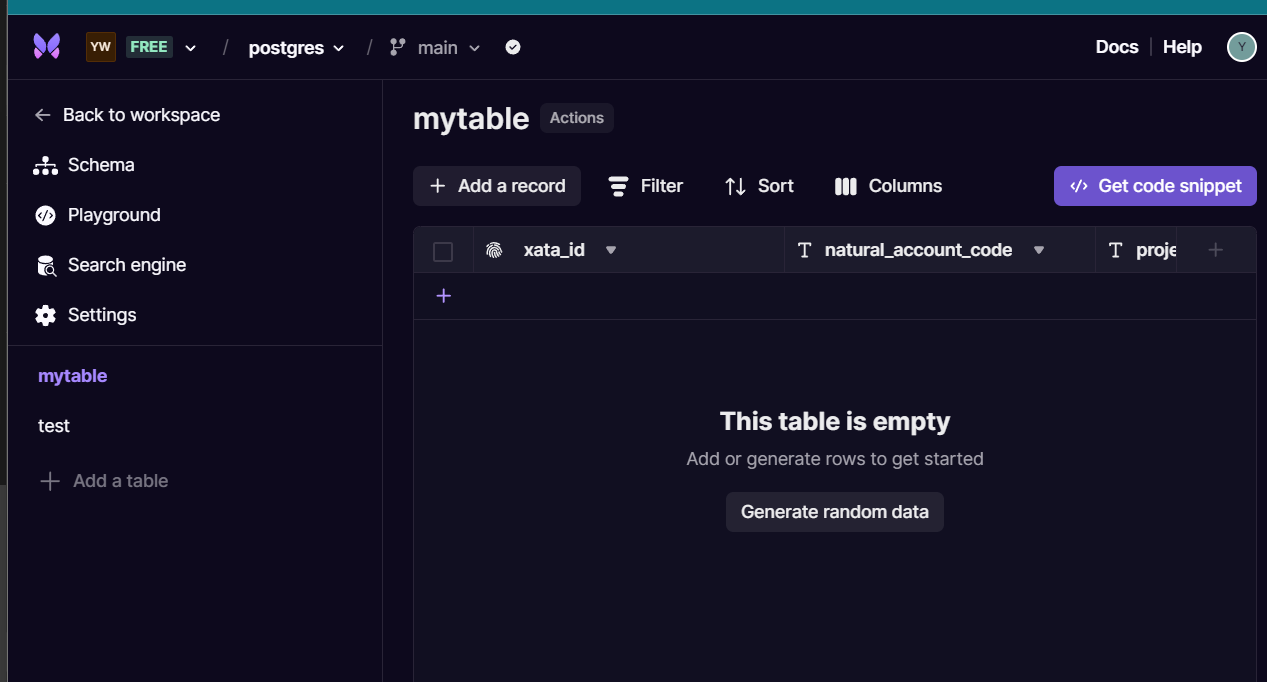
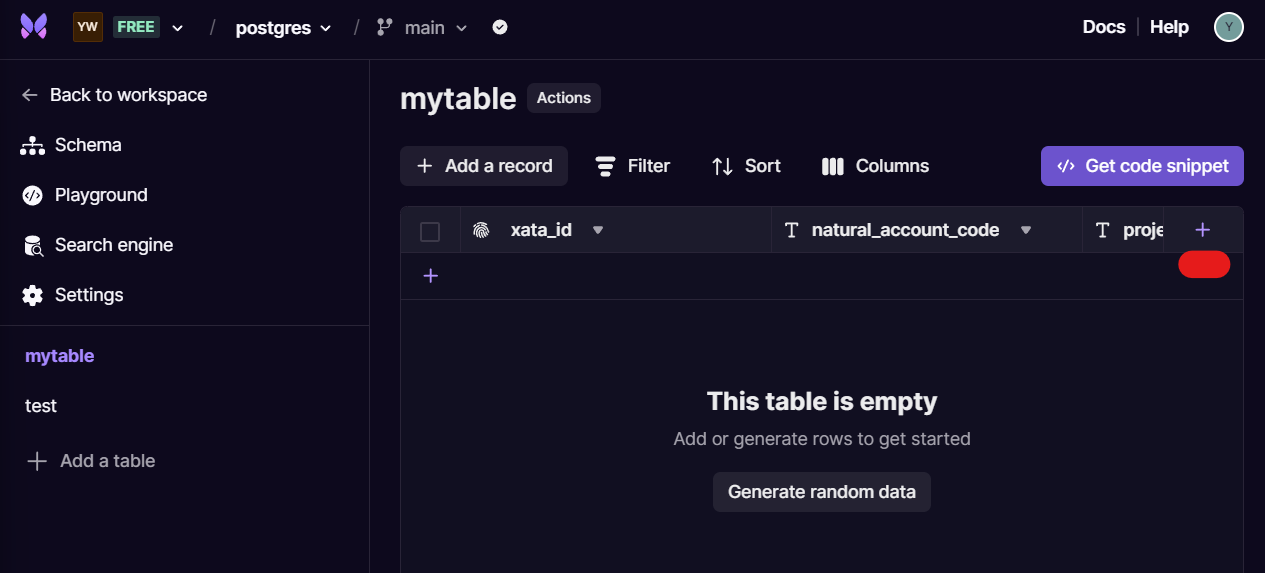
Add 2 new string columns into mytable by clicking on the purple plus icon at the top-right corner within the table interface. Name these two new columns natural_account_code and project_code if you want to be consistent with the script provided below.
Then add 2 new string columns into test. Name these columns natural_account_code and natural_account_desc.
We will now setup a connection to our database in a Python script so we can interact with our database for uploads and downloads.
To insert data into our database, install psycopg2 via pip install and use the following Python script:
1
2
3
4
5
6
7
8
9
10
11
12
13
14
15
16
17
18
19
20
21
22
23
24
25
26
27
28
29
30
31
32
33
34
35
36
37
38
39
40
41
42
43
44
45
import psycopg2

# Replace <YOUR_API_KEY> with your actual API key
api_key = <YOUR_API_KEY>

# Construct the connection string
conn_string = f"postgresql://ijv7g6:{api_key}@us-east-1.sql.xata.sh/postgres:main?sslmode=require"

# Connect to the database
try:
    conn = psycopg2.connect(conn_string)
    conn.autocommit = True  # Enable autocommit for the connection
    # Create a cursor
    cursor = conn.cursor()

    # Define your SQL query for insertion
    query = ("""
    INSERT INTO mytable (project_desc, natural_account_code)
    VALUES (%s, %s)
    """)

    # List of data to be inserted
    # Each tuple in the list represents a row to be inserted
    data_to_insert = [
        ('Project A', '10001'),
        ('Project B', '10002'),
        ('Project C', '10003'),
        # Add as many tuples as needed
    ]

    # Execute the query for multiple records
    cursor.executemany(query, data_to_insert)
    print("Multiple data inserted successfully.")

    # Close the cursor
    cursor.close()

except psycopg2.OperationalError as e:
    print(f"Unable to connect to the database: {e}")

finally:
    # Close the connection
    if conn is not None:
        conn.close()
        print("Connection closed.")
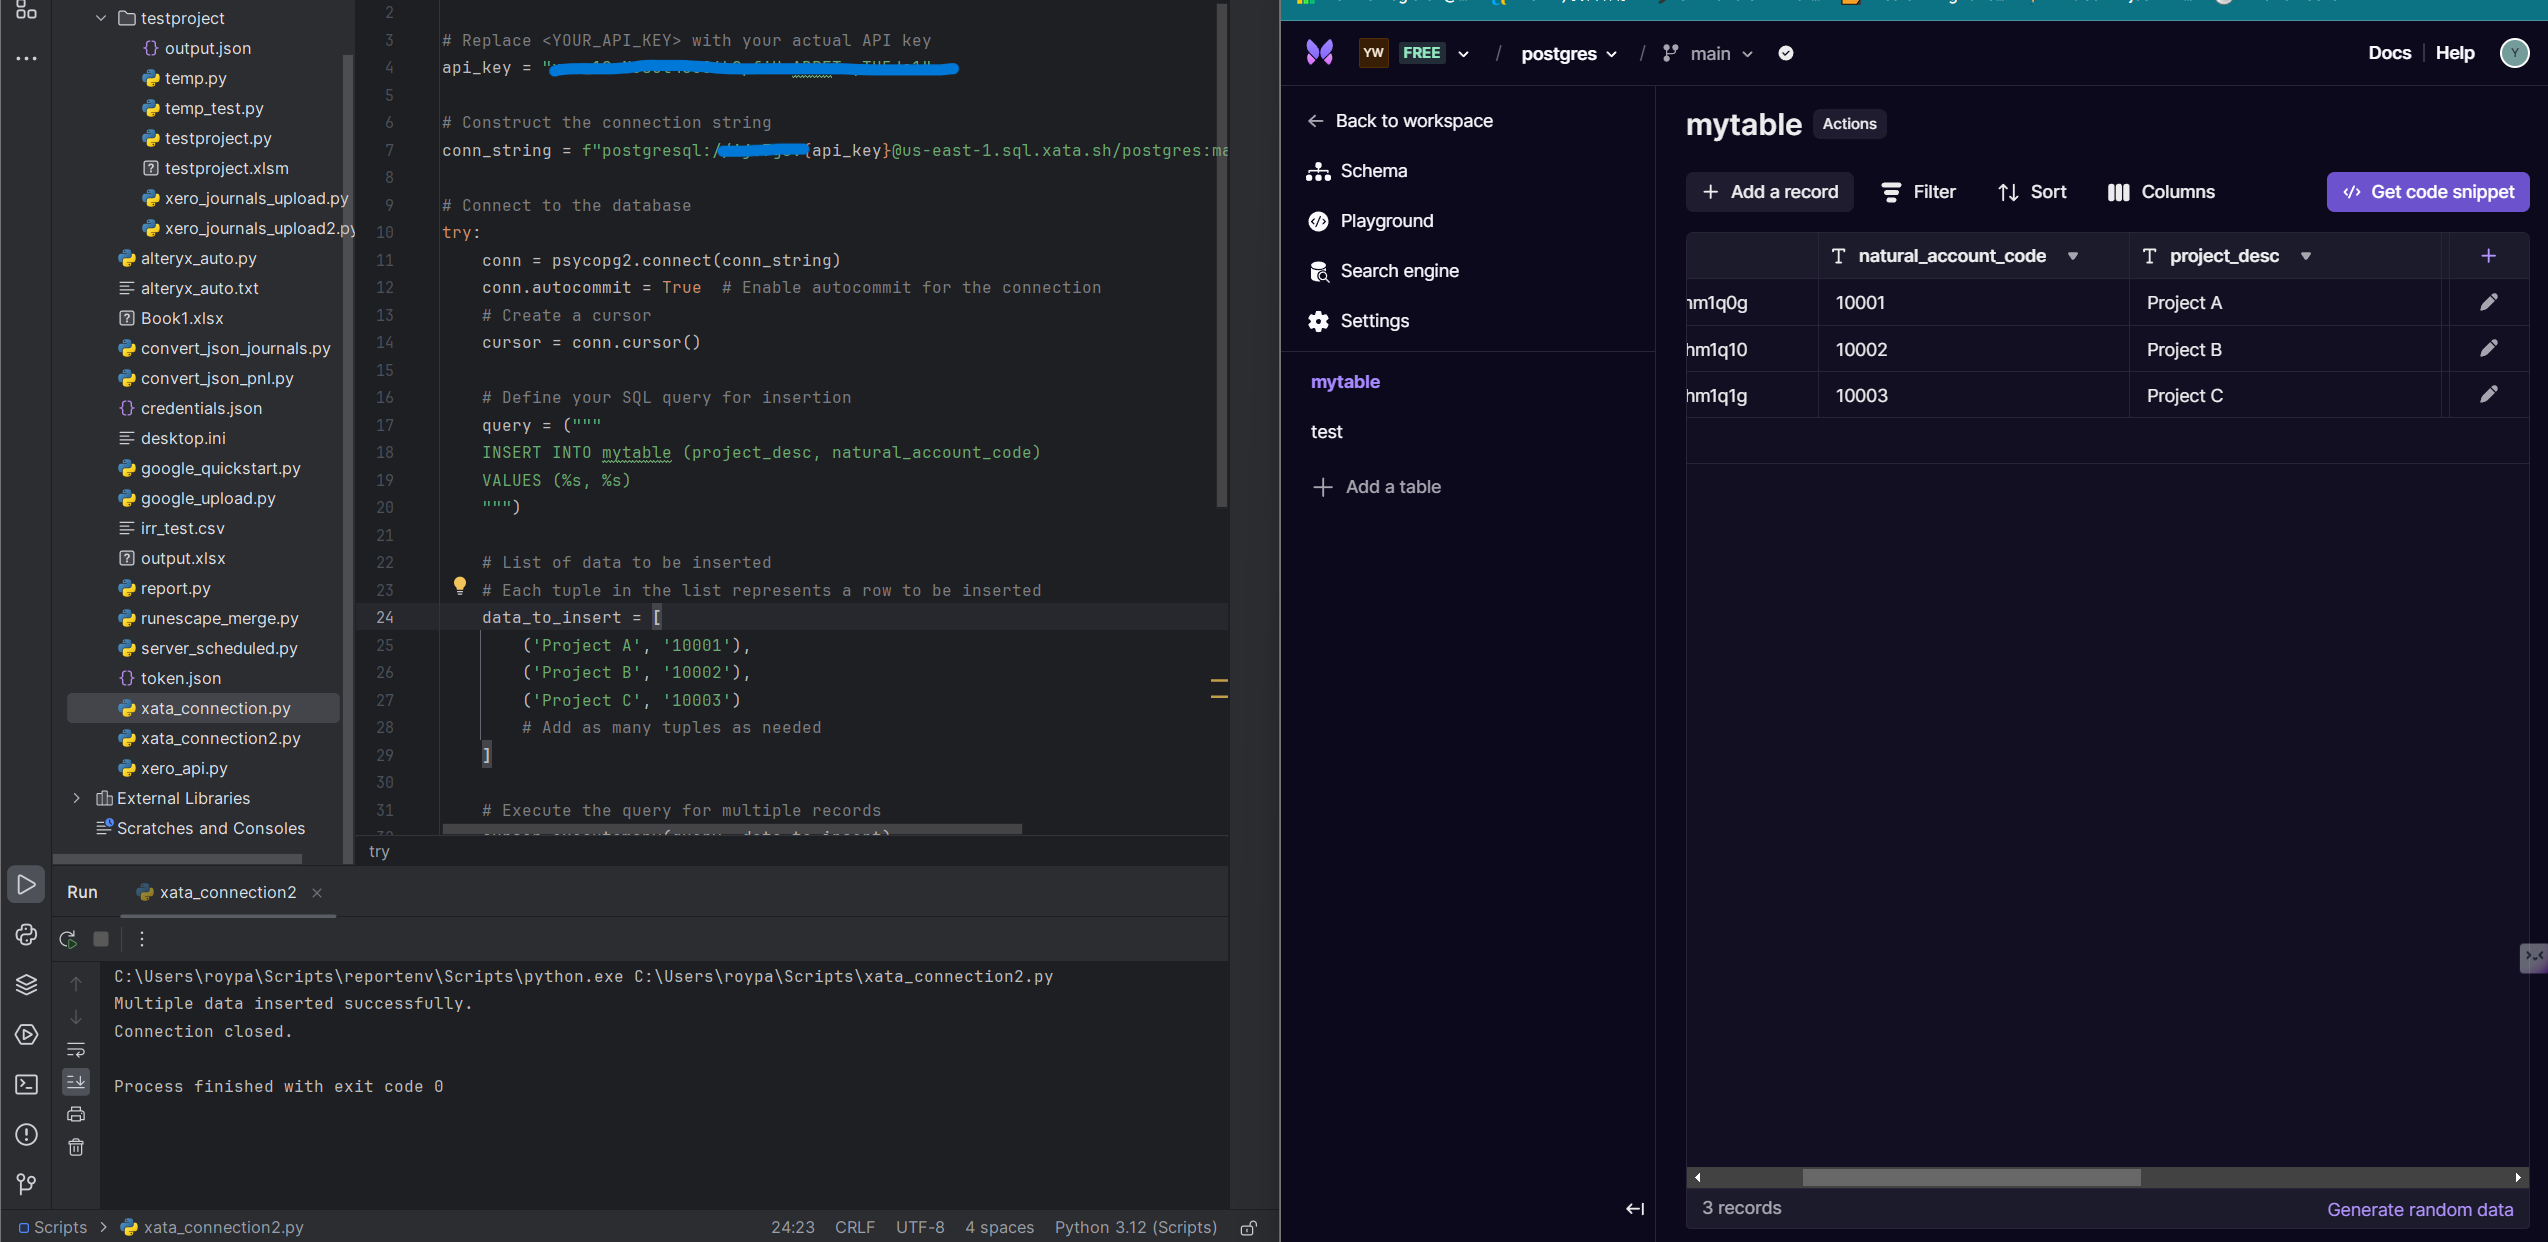
In the script above, replace the conn_string variable with the endpoint previously obtained and stored in your .txt file. Do not remove the f prefix or the variable within as they indicate an f-string, which enables us to plug in variables within strings - in this case {YOUR_API_KEY}. Replace the api_key variable with the API key generated on your end earlier as well.
You will notice an embedded SQL statement within a query variable, with the actual data under concern within a data_to_insert list variable. This list contains multiple tuples, where you can plug in as many values as you want. For demonstration purposes, we will insert 3 records. Run the script above to upload the 3 records. Your output should resemble the following:
We will now replicate the above process for test and populate the table with ficitious data.
Use the following script to insert 3 records. This table essentially provides description data for our natural account codes.
Click here to expand
import psycopg2

# Replace <YOUR_API_KEY> with your actual API key
api_key = <YOUR_API_KEY>

# Construct the connection string
conn_string = f"postgresql://ijv7g6:{api_key}@us-east-1.sql.xata.sh/postgres:main?sslmode=require"

# Connect to the database
try:
    conn = psycopg2.connect(conn_string)
    conn.autocommit = True  # Enable autocommit for the connection
    # Create a cursor
    cursor = conn.cursor()

    # Define your SQL query for insertion
    query = ("""
    INSERT INTO test (natural_account_code, natural_account_desc)
    VALUES (%s, %s)
    """)

    # List of data to be inserted
    # Each tuple in the list represents a row to be inserted
    data_to_insert = [
        ('10001', 'Cash - Commonwealth Bank'),
        ('10002', 'Cash - NAB'),
        ('10003', 'Cash - ANZ')
        # Add as many tuples as needed
    ]

    # Execute the query for multiple records
    cursor.executemany(query, data_to_insert)
    print("Multiple data inserted successfully.")

    # Close the cursor
    cursor.close()

except psycopg2.OperationalError as e:
    print(f"Unable to connect to the database: {e}")

finally:
    # Close the connection
    if conn is not None:
        conn.close()
        print("Connection closed.")
With both tables populated with dummy data, we can now test an INNER JOIN query that pulls data from multiple tables:
1
2
3
4
5
6
7
8
9
10
11
12
13
14
15
16
17
18
19
20
21
22
23
24
25
26
27
28
29
30
31
32
33
34
35
36
37
38
39
40
41
42
43
import psycopg2

# Replace <YOUR_API_KEY> with your actual API key
api_key = <YOUR_API_KEY>

# Construct the connection string
conn_string = f"postgresql://ijv7g6:{api_key}@us-east-1.sql.xata.sh/postgres:main?sslmode=require"

# Connect to the database
try:
    conn = psycopg2.connect(conn_string)
    # Create a cursor
    cursor = conn.cursor()

    # Define your SQL query
    query = ("""
    SELECT m.project_desc, m.natural_account_code, t.natural_account_desc
    FROM mytable m
    INNER JOIN test t on m.natural_account_code = t.natural_account_code;
    """)

    # Execute the query
    cursor.execute(query)
    print("Connection established.")

    # Fetch the results
    rows = cursor.fetchall()

    # Process the results
    for row in rows:
        print(row)  # Do something with the row data

    # Close the cursor
    cursor.close()

except psycopg2.OperationalError as e:
    print(f"Unable to connect to the database: {e}")

finally:
    # Close the connection
    if conn is not None:
        conn.close()
        print("Connection closed.")
If run correctly, you should see the following output in your Python terminal:
1
2
3
4
5
6
7
8
C:\Users\roypa\Scripts\reportenv\Scripts\python.exe C:\Users\roypa\Scripts\xata_connection.py
Connection established.
('Project A', '10001', 'Cash - Commonwealth Bank')
('Project B', '10002', 'Cash - NAB')
('Project C', '10003', 'Cash - ANZ')
Connection closed.

Process finished with exit code 0
As you can see, our query has correctly displayed the natural account description with the relevant account codes and projects - all from our newly created 24/7 live database.
To manage our database and to monitor data content, we will now setup our database admin tool DBeaver. Download and install DBeaver from the link provided.
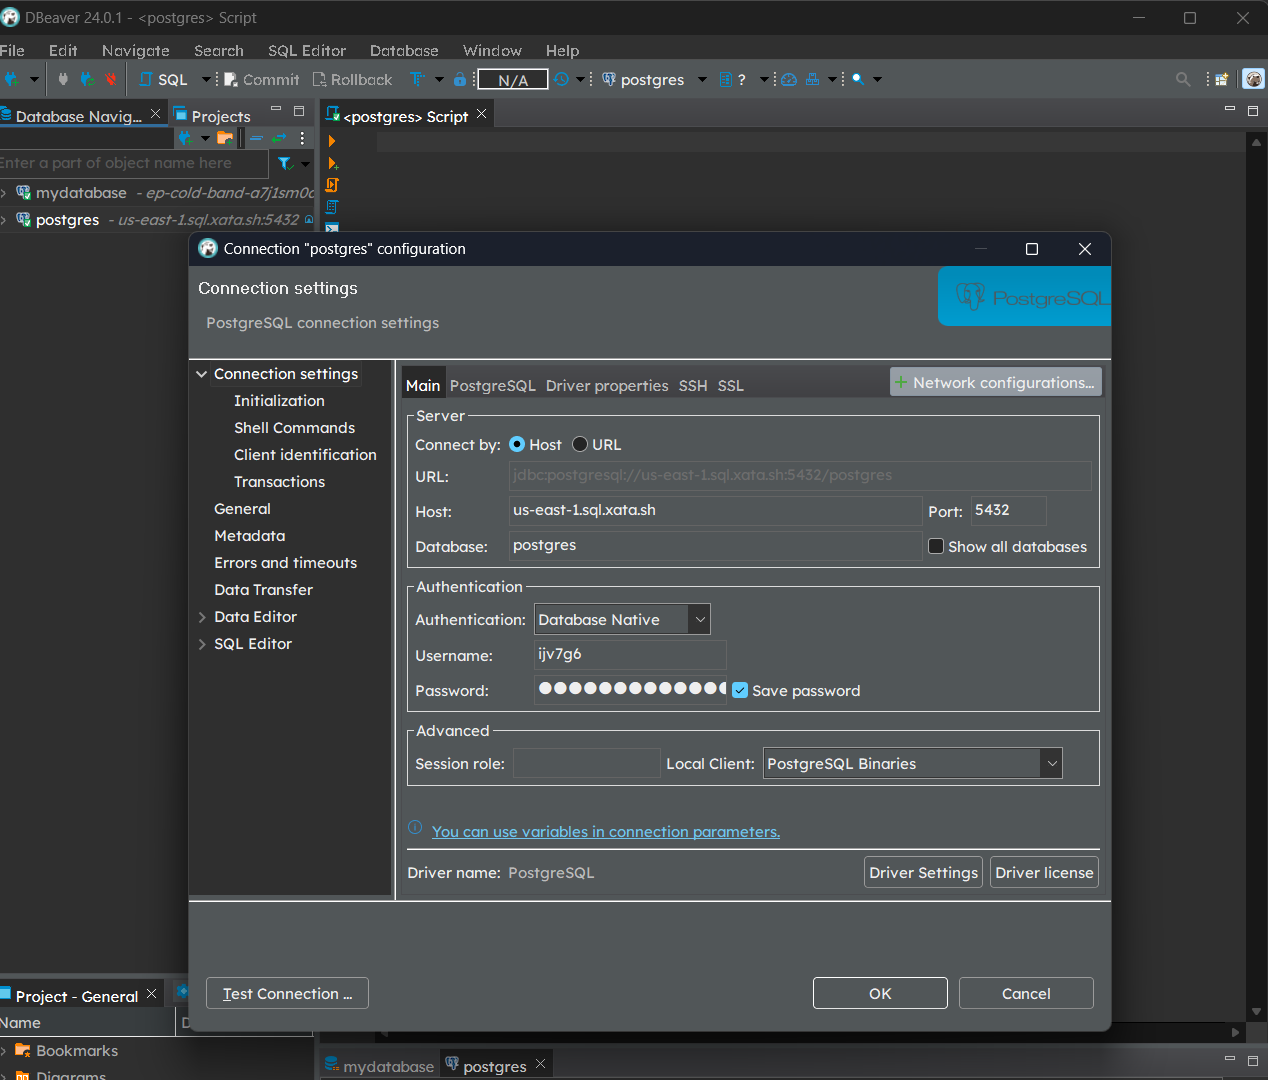
Once installed, setup a new database connection via Database > New Database Connection in the top toolbar and select PostgreSQL.
Within Connection settings > Main in the new window, fill in the relevant connection parameters by referring the image below. You can obtain the relevant fields from the connection string and the API key obtained earlier. Don’t forget to toggle Use SSL in the SSL tab.

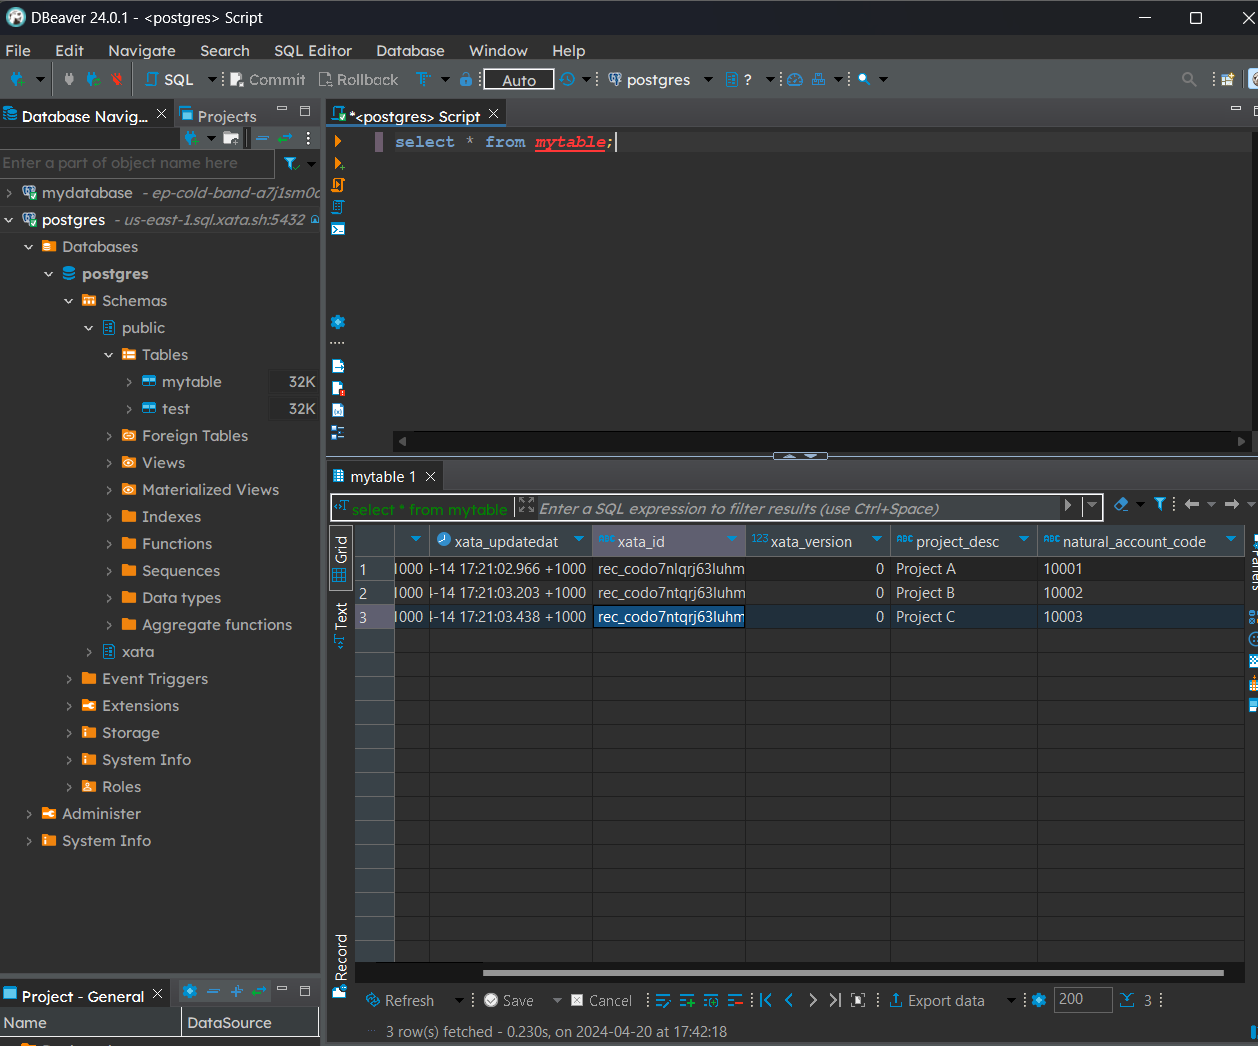
With the connection setup, we can now query our newly added data by selecting the newly created database as the datasource and run SELECT * FROM mytable; to check table contents. We can easily manipulate our data and create various workflows within the tool. These will be discussed in future posts.
Outcome
This example serves as a simplified demonstration of a database setup. However, with careful design planning, it’s possible to create complex databases featuring various calculated fields and integrated logic, which can then be utilized for advanced reporting and analytics purposes. We will delve deeper into these topics in upcoming walkthroughs.